You can create one or more photo albums for your esportsdesk.com website by following the below instructions. Once you have a photo album created, you will be able to upload pictures into it. You may create as many photo albums as you like.
Step 1
First Login to Your Administrator Account.
Step 2
Open the Content section of the left navigation and click Photos, then click the green Add New Album button in the top-right corner

Step 3
Fill in the album information, and choose what site(s) your new album will display on. Then press the blue Add New Album button to save your changes

Step 4
To add photos to your albums, click the Add Photos to Album option in the Actions menu. This will open a file browser so that you can select 1 or more images to upload. The blue box in the Photos column shows the number of pictures which have been uploaded to each album. Clicking this number will open the album so you can view the photos in that album.

Step 5
After the images have been uploaded, you will be taken into the album to view its contents
- You are able to click on each image's name, date, and description to change those details
- Clicking the green slider switch will set that photo to either display or not display on the public website
- The Actions menu has options to delete the photo and edit it (clicking the middle of the photo itself will also bring up the edit tools)

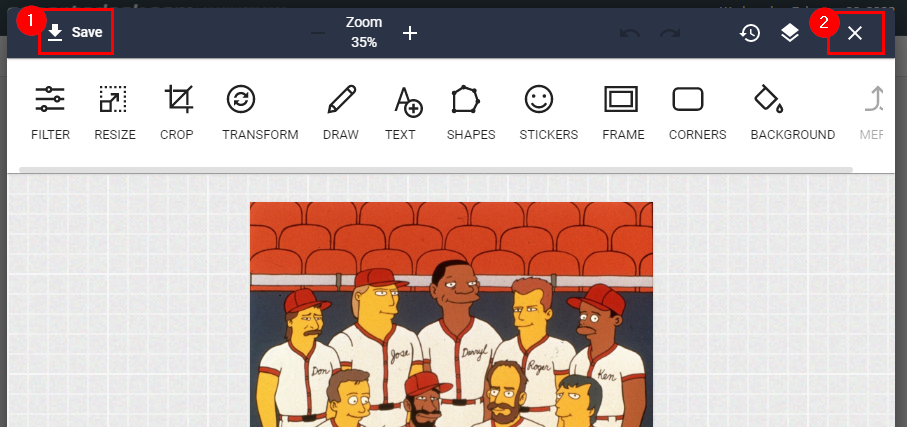
Step 6
Use the image editing tools to make any adjustments you like and then click the Save button in the top-left corner to save your changes. When you are done editing, click the X in the top-right corner to close the image editor and return to your photo album
If your public website has a slideshow, then see the Photo Slideshow Feature article for details on how to dispaly photos in your slideshow