Creating Waivers allows you to add them to your event registration in which your registrants must agree to before they can register. You may add your created Waivers to your event registration by simply selecting it from the dropdown box. Please read how to Create an Event Registration for more information.
Step 1
Login to your Administrator account
Step 2
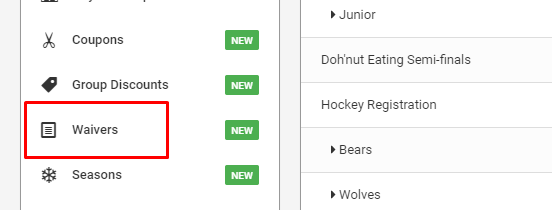
Under the Registration & Membership section of the administrator navigation, click Waivers
Step 3
Click Add a New Waiver to add a new waiver.
If you have any existing waivers, it will be shown here. You can click Preview to see the contents of the waiver. Clicking on the Actions menu will allow you to Edit or Delete a waiver (if it's not currently in use)

Step 4
First type in the name of your Waiver, then your content of your Waiver. Finally click Save New Waiver to finish adding your waiver to the system. Once you have saved this, you can use this waiver for all current and subsequent events so you don't have to retype it again.

Was this article helpful?
That’s Great!
Thank you for your feedback
Sorry! We couldn't be helpful
Thank you for your feedback
Feedback sent
We appreciate your effort and will try to fix the article